Bush Beans
Bush beans stay compact and need no external support, making them a strong choice for raised beds and smaller gardens. UGA lists Blue Lake 274, Gina, Kentucky Wonder, Roma II and Bronco among bush-bean cultivars.
Georgia vegetable growing guide
Beans are one of Georgia's most useful warm-season garden crops. Bush beans give gardeners a compact, relatively quick harvest; pole beans trade extra support and time for a longer picking season; half-runners fall between the two; and lima beans—often called butterbeans in the South—bring another classic Southern crop into the garden.
Plan before planting
Beans are warm-season crops that benefit from suitable planting conditions, the right growth habit and frequent harvest.
Plant after spring frost danger has passed. Georgia gardeners can make spring and fall plantings.
Green beans grow best around 65–85°F; temperatures above about 85°F can cause flower drop and slow production.
Bush beans mature faster and need no trellis; pole beans vine and require strong support.
Frequent picking encourages continued production and keeps snap beans tender.
Choose the right bean
Growth habit affects support, garden space, maturity and the length of the picking season.
Bush beans stay compact and need no external support, making them a strong choice for raised beds and smaller gardens. UGA lists Blue Lake 274, Gina, Kentucky Wonder, Roma II and Bronco among bush-bean cultivars.
Pole beans grow as vines and can reach 6 feet or more. They need a sturdy trellis, stakes or another support system. UGA lists Blue Lake, Kentucky Wonder, Dade and Kentucky Blue among pole-bean choices. Pole beans take longer to mature than bush beans but can continue producing over a longer period when harvested regularly.
Half-runners combine characteristics of bush and pole beans. UGA lists Mountaineer, Volunteer and White. They can be grown without support, but they spread more than true bush beans and need additional room.
UGA notes that lima beans—commonly called butterbeans in the South—can be grown at roughly the same warm-season time as snap beans. Georgia planting charts also include both bush lima and pole lima types. Together, bush and pole lima types give Georgia gardeners useful choices beyond green snap beans.
Planting timing
UGA's statewide home-garden chart gives April 1–May 1 as a useful spring window for bush beans and pole beans, with regional and chart-version differences of a couple of weeks.
Fall bush beans can generally be planted from about mid-July into August, while pole beans need slightly more time and are normally planted a little earlier for fall.
Because Georgia stretches across several climate zones, use those dates as a statewide baseline and adjust for your local last spring frost and first fall frost. Specific recommendations may vary by exact location and local climate conditions; consult local gardening resources or your county Extension office for region-specific advice.
Establish strong plants
UGA recommends sowing green beans directly in the garden rather than starting them as transplants.
Soil should be at least about 55°F for good germination. Beans prefer soil temperatures between 60°F and 70°F (15°C to 21°C) for optimal germination.
UGA's garden calendar recommends a second snap-bean planting about two to three weeks after the first to extend harvest. This is especially useful for bush beans, as they tend to produce a large crop all at once.
Core growing conditions
Aim for six to eight hours or more of sunlight.
Beans perform best in well-prepared, organically amended, well-drained soil. They can tolerate a range of soil types but prefer slightly acidic to neutral soil. Beans are legumes and form relationships with nitrogen-fixing bacteria, but that does not mean a garden never needs fertility management. Use a soil test rather than assuming “no fertilizer.”
Keep moisture steady, especially during flowering and pod development. Water at soil level when practical to reduce prolonged leaf wetness.
Support vertical growth
UGA suggests several practical systems: individual 6- to 7-foot stakes, posts with a 5- to 6-foot overhead wire and strings running down to the plants, or a bean “teepee” using a central 7- to 8-foot pole when space is limited.
Place tall pole beans where they will not shade shorter vegetables. UGA's Georgia garden calendar recommends putting tall crops such as pole beans, okra and corn on the north side of the garden.
Use garden space thoughtfully
Cornerstone guide: How to Grow a Three Sisters Garden in Georgia explains how pole beans fit with corn and squash, including planting sequence, nitrogen context and Georgia garden layout.
Beans are part of the traditional Three Sisters system with corn and squash. UGA educational material explains that corn provides climbing structure, beans occupy the vertical space around the corn, and squash shades the soil below.
Outside a Three Sisters planting, tall pole-bean trellises belong toward the north side so they do not shade shorter crops. Georgia humidity makes dense, tangled plantings a poor tradeoff even when two plants are commonly described as “companions.”
Avoid repeatedly planting beans in exactly the same location when disease problems have occurred. Beans participate in biological nitrogen fixation, but a living bean plant is not an instant fertilizer dispenser for neighboring corn or squash. Much of the nitrogen benefit becomes part of longer-term soil and residue cycling.
Diagnose before treating
Beans, including green beans, pole beans and bush beans, can be susceptible to a range of pests. Identify the pest and the damage before choosing a control method.
Description: Small, soft-bodied insects that come in various colors.
Damage: Aphids suck sap from bean plants, causing distortion, yellowing, and the secretion of honeydew that can attract sooty mold.
Control: Introduce natural predators like ladybugs, hose off aphids with water, use insecticidal soap or neem oil.
Description: Yellowish-orange beetles with black spots.
Damage: Both adult beetles and larvae feed on bean leaves, causing skeletonization and defoliation.
Control: Handpick beetles, use row covers, and apply insecticides if necessary.
Description: Small beetles with yellowish-brown coloration.
Damage: Adults and larvae feed on bean foliage, causing damage to leaves and pods.
Control: Use insecticides, encourage natural predators, and practice good garden hygiene.
Description: Tiny arachnids that may have two dark spots on their bodies.
Damage: Spider mites feed on bean leaves, causing stippling, yellowing, and reduced growth.
Control: Use predatory mites, insecticidal soaps, or neem oil. Maintain proper humidity levels to discourage mite infestations.
Description: Tiny, slender insects.
Damage: Thrips feed on bean leaves, causing stippling, distortion, and silvering.
Control: Apply insecticides, use reflective mulches, and encourage natural predators.
Description: Tiny, white insects that fly away when disturbed.
Damage: Whiteflies feed on bean sap, causing yellowing, wilting, and the development of sooty mold.
Control: Use reflective mulches, introduce natural predators like parasitic wasps, and apply insecticidal soaps or neem oil.
Description: Nocturnal caterpillars that hide in the soil during the day.
Damage: Cutworms may cut through bean stems at soil level, causing plants to topple over.
Control: Use collars around young plants to create a barrier, practice good garden hygiene, and apply biological insecticides containing Bacillus thuringiensis (Bt).
Description: Small beetles that infest dry beans, including stored beans.
Damage: Weevil larvae feed inside bean seeds, reducing quality and causing damage.
Control: Store dry beans properly, use pheromone traps, and apply insecticides if necessary.
Integrated pest management (IPM) practices, including regular monitoring, early detection, and a combination of cultural, biological and chemical controls, can help manage pest problems in beans effectively. Always follow recommended guidelines for the specific pest-control methods you choose.
For current variety, planting and pest-management recommendations, consult University of Georgia Cooperative Extension and your county Extension office.
From garden to kitchen
Harvest snap beans while pods are still immature, tender and crisp, before the seeds inside become fully developed. Bush beans commonly mature in about 50–60 days; pole beans generally take longer.
Once production starts, check plants frequently. Continued harvesting encourages plants to keep setting pods, and younger pods generally provide better eating quality.
Grow → Harvest → Cook: Put the harvest to work in the four recipes below, then browse the complete Georgia Garden Recipe Finder.
Cook the harvest
Use the four existing GA Garden recipes below for fresh, pantry and preserved bean dishes.
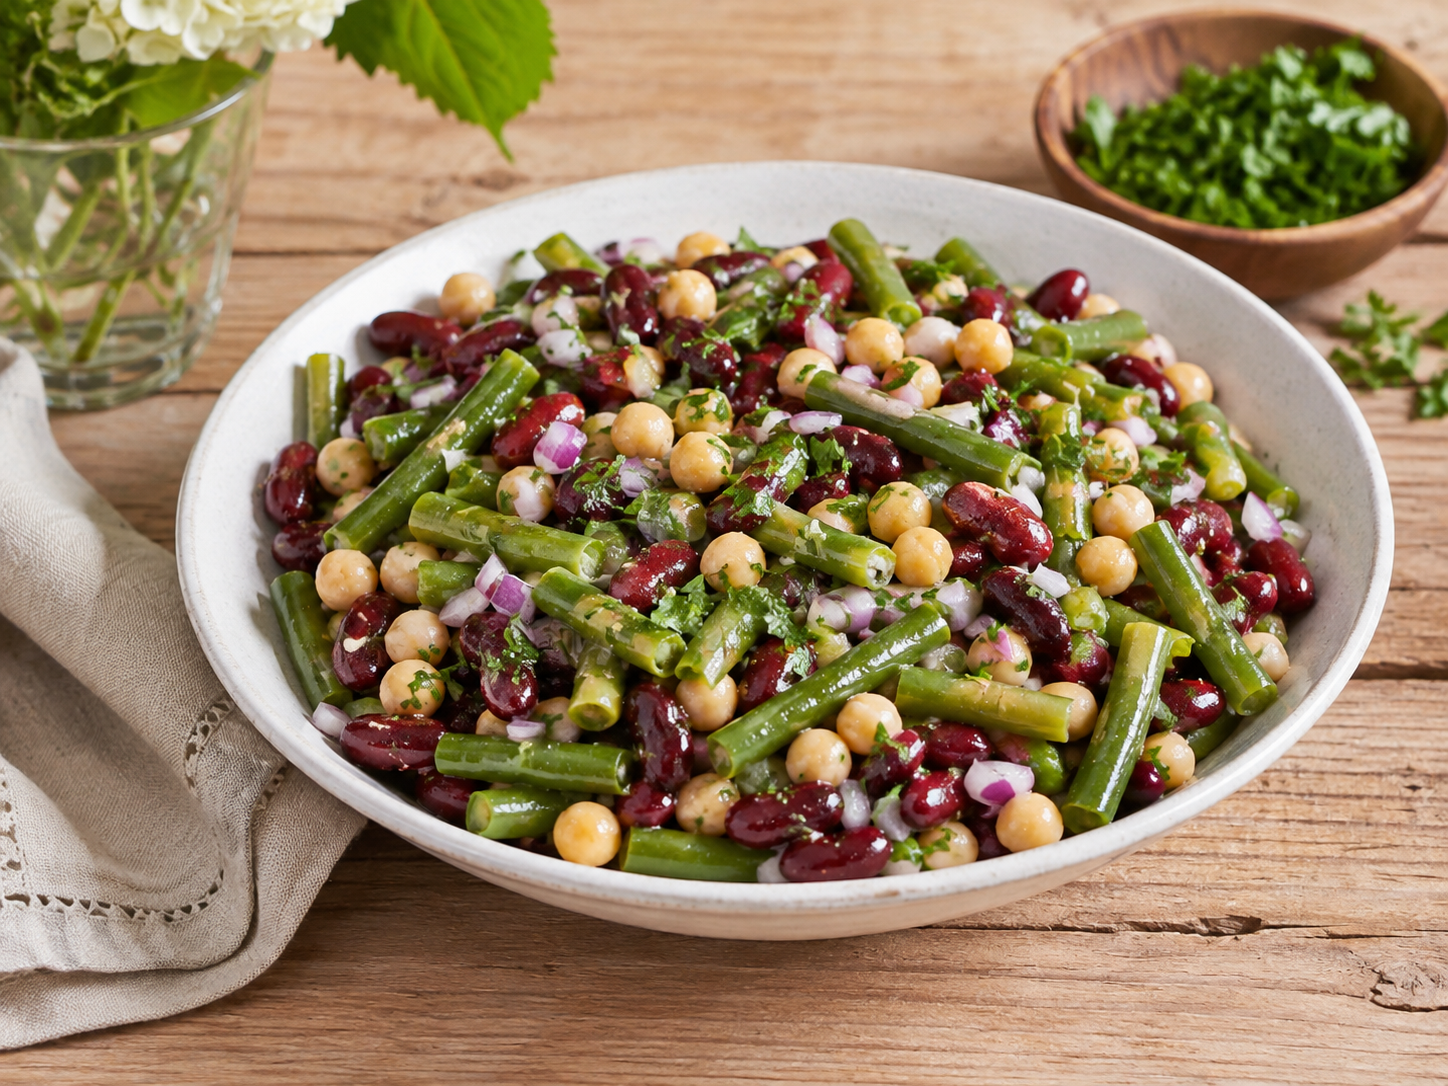
Chickpeas, black beans and green beans tossed with bell pepper and red onion.
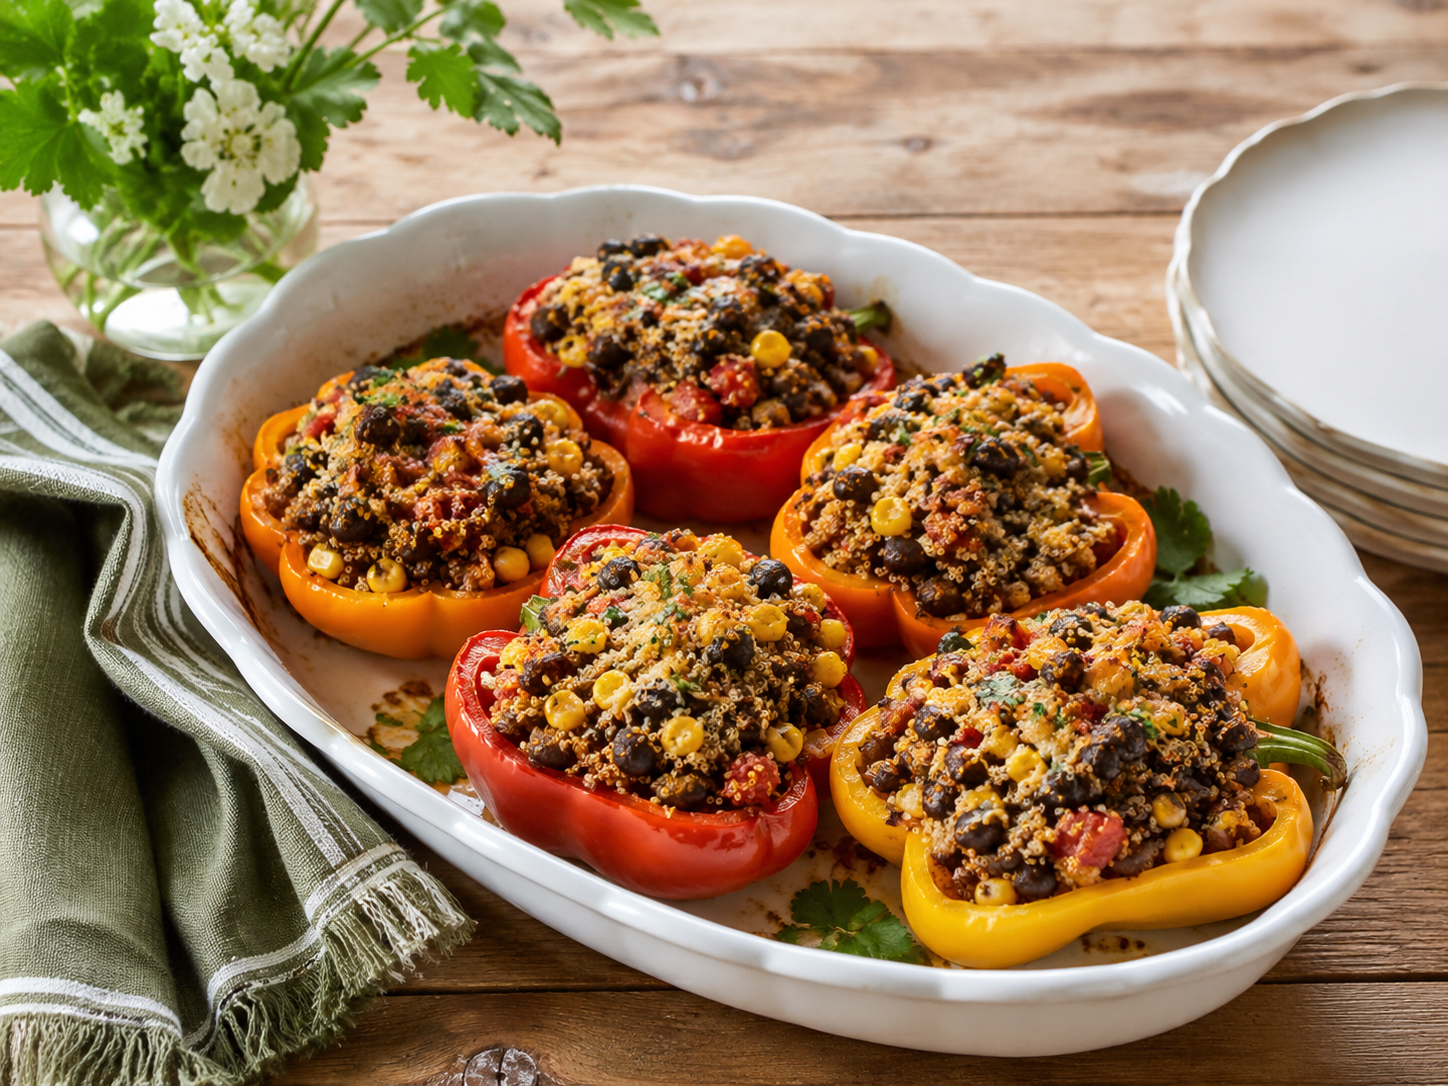
Bell pepper halves packed with quinoa, black beans, corn and tomatoes.
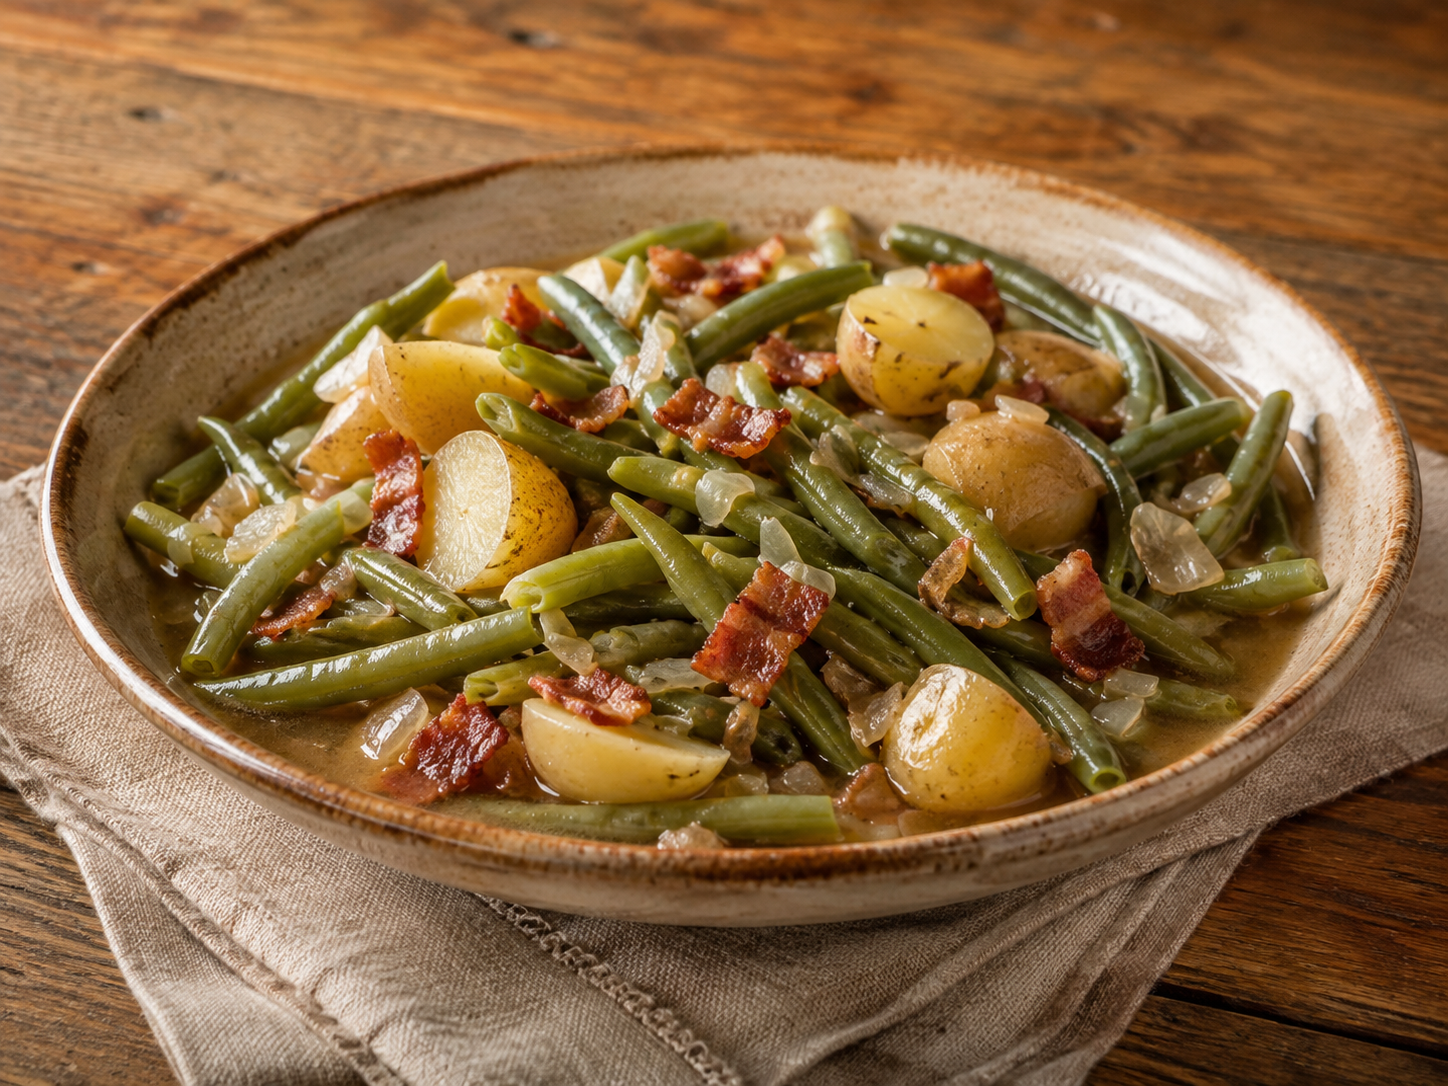
Tender green beans and baby new potatoes simmered with bacon, onion and savory broth.
Garden kitchen note: Choose potatoes of similar size so they finish cooking with the beans. Refrigerate leftovers within 2 hours.
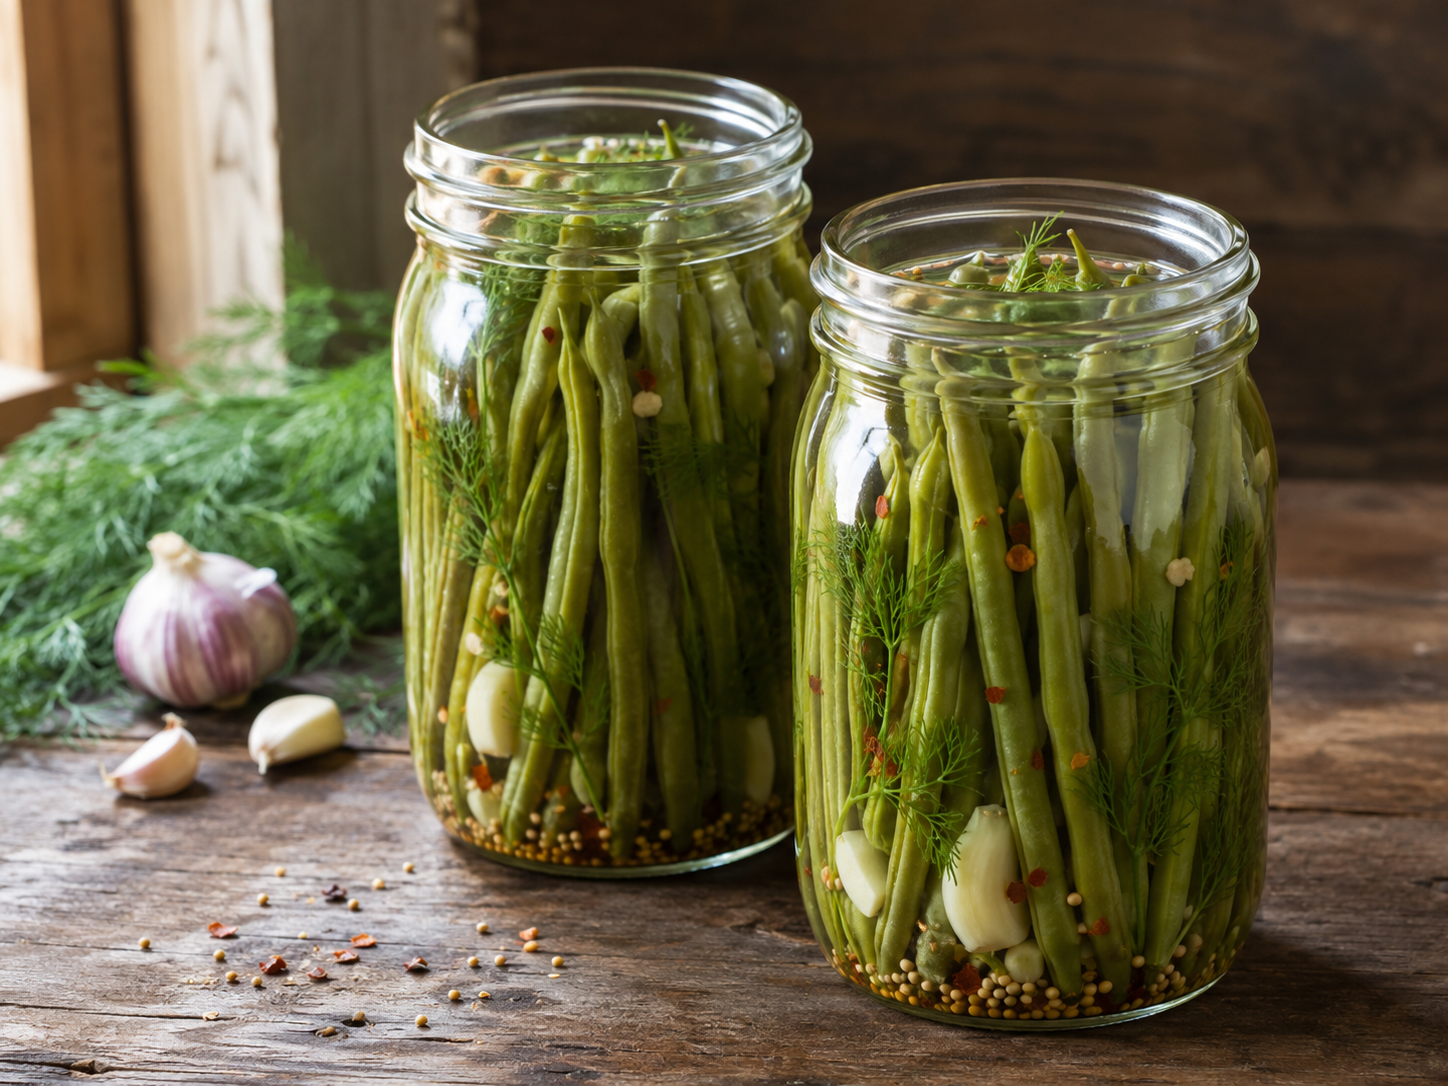
Crunchy green beans refrigerator-pickled with dill, garlic, mustard seed and red pepper.
Garden kitchen note: These beans are refrigerator pickles and are not shelf stable. Keep refrigerated and use within 2 weeks.
Preparation and storage note: Trim the beans to fit below the brine line. Keep the jar refrigerated and use within three weeks; this formulation is not intended for shelf-stable canning.
Keep growing
Continue with crops that share the warm-season garden and the planning resources that support them.
Continue with the complete Vegetable Gardening in Georgia guide, the Georgia Planting Calendar, Harvesting Guides, Three Sisters & Companion Growing, Georgia Growing Guides and Seasonal Produce.
For current variety, planting and pest-management recommendations, consult University of Georgia Cooperative Extension and your county Extension office.